Sculpting for Illustration magic has transformed the way artists blend 2D and 3D art, forging a new path for creators. This hybrid approach marries the depth and realism of 3D models with the expressiveness and style of 2D imagery. It opens up innovative possibilities within digital and traditional illustration, moving beyond the limitations of each medium to harness their combined strengths.
The magic of Blend 2D & 3D – Sculpting for Illustration involves crafting dynamic visuals that stand out. The technique adds dimension to drawings, enhancing narratives through textured layers. This synergy breathes life into art, creating immersive experiences not possible before.
One primary challenge in this blended approach is maintaining artistic coherence when transitioning from one medium to the other. Overcoming this calls for skillful integration. This challenge serves as a segue to The Magic of Combining 2D and 3D Art, where the seamless fusion of these forms culminates in enchanting visual creations.
The Magic of Combining 2D and 3D Art
Combining 2D and 3D art creates a unique fusion that breathes life into illustrations. This blend allows artists to capture the best of both worlds—2D’s creative freedom and 3D’s depth and realism. Innovative illustrators harness this synergy, crafting visuals that are both enchanting and technically impressive.
The process begins with a 2D concept, which serves as a blueprint for the 3D model. Artists use this initial sketch to ensure their 3D creations remain true to their original artistic vision. By keeping the essence of the 2D design, the final illustration retains its intended character and style.
After the 2D concept is set, sculpting in 3D adds dimensionality that flat images can’t achieve. Using sculpting tools in software like ZBrush or Blender, artists can mold their models with precision. They might press Shift to smooth a surface, or use Ctrl along with a brush to subtract material. Each stroke in 3D sculpting builds upon the 2D foundation, culminating in a rich, textured piece.
The final artwork often returns to 2D for touch-ups and enhancements. This is where artists apply their 2D skills to paint over the 3D render, adding details or adjusting colors. They navigate to the Layers panel to tweak elements or hit Ctrl + Z to undo any missteps. This back-and-forth between dimensions ensures a harmonious blend in the final illustration.
As we delve deeper into the realm of digital art, the boundaries between 2D and 3D continue to blur. Combining 2D and 3D art is not just a technique; it’s a form of storytelling that invites viewers into a more immersive experience. Up next, we explore how this integrated approach is revolutionizing the world of animation.
Sculpting Techniques Tailored for Illustrators
Sculpting techniques for illustrators are transforming the way 2D artists approach their craft. By incorporating 3D modeling, illustrators can bring a new level of depth and realism to their work. This blend of dimensions allows for a more dynamic creative process.
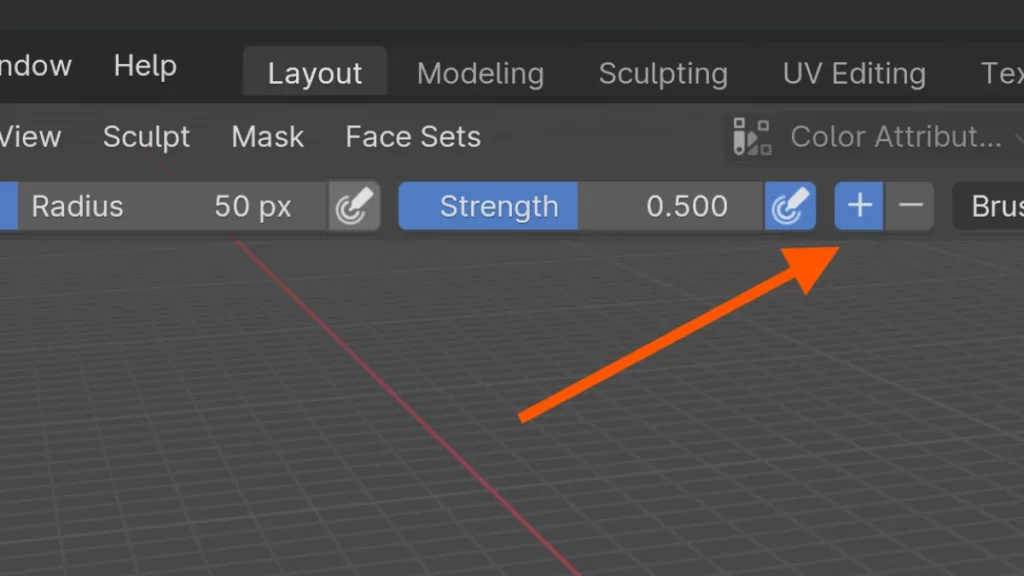
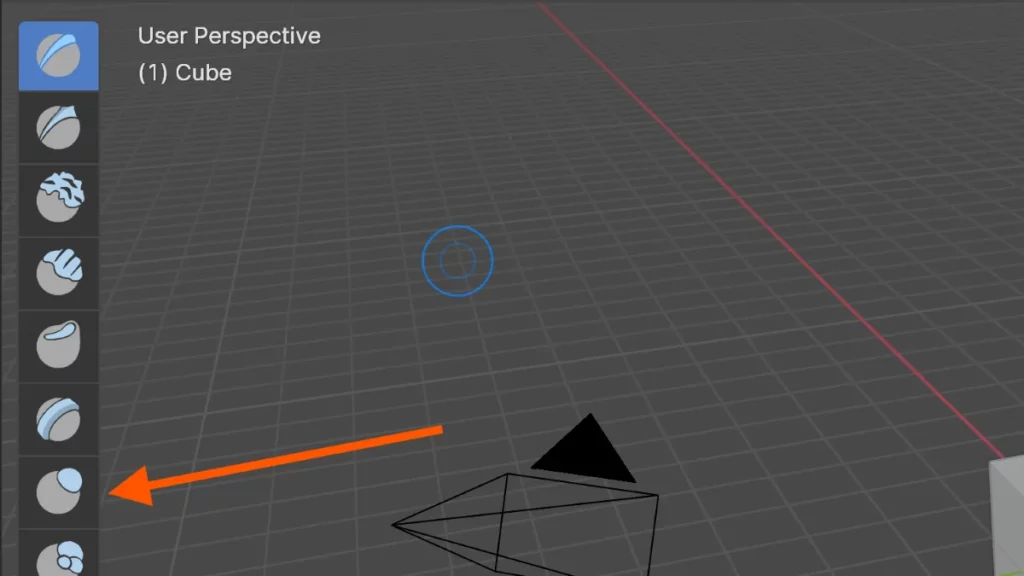
To start, illustrators should familiarize themselves with basic sculpting tools. Programs like ZBrush or Blender offer intuitive platforms for sculpting. Use the Brush tool to add volume and the Smooth tool to refine shapes. Press Shift while using the Brush tool to activate smoothing.
Understanding the fundamentals of anatomy and light is crucial for illustrators. Sculpting techniques for illustrators require a keen eye for how light interacts with form. Use the Sculpt Mode to experiment with shadows and highlights, enhancing the illustration’s realism.
Remember to save frequently while working. Use Ctrl + S to save your progress. This prevents losing any intricate sculpting details you’ve created.
Transitioning between 2D and 3D can seem daunting, but sculpting techniques for illustrators are designed to be accessible. Start with simple shapes and gradually add complexity. Use the Subdivide function to increase mesh detail where needed.
As you become more comfortable, explore advanced sculpting techniques. For illustrators, this might include using the Dynamesh feature to merge different shapes seamlessly. Activate it by pressing Ctrl + Dynamesh in your sculpting software.
Sculpting techniques for illustrators not only enhance the visual appeal but also open up new avenues for storytelling. A well-sculpted character or environment can convey emotions and narratives powerfully. This article will next explore how sculpting can elevate the narrative in your illustrations.
Enhancing 2D Art with 3D Sculpting Techniques
The fusion of traditional 2D art with 3D sculpting techniques opens a world of possibilities for artists and illustrators. By embracing 3D tools, creators can bring a new dimension of realism and depth to their 2D projects. This 2D Art Enhancement with 3D not only enriches the visual experience but also allows for more dynamic and engaging compositions.
Starting with a 2D sketch, artists can now use 3D sculpting software to model their concepts in a three-dimensional space. This process adds volume and perspective, making it easier to visualize complex scenes. By incorporating 3D models into 2D illustrations, artists achieve a 2D Art Enhancement with 3D that traditional techniques alone could not offer.
To begin, artists should sketch their initial design in their preferred 2D software. They can then import this sketch into a 3D program and start sculpting over it. Using tools like brushes and stencils, they can mold shapes and add textures that mimic real-life properties. When details matter, shortcuts like Shift + D allow for quick detail enhancement, making the process smoother.
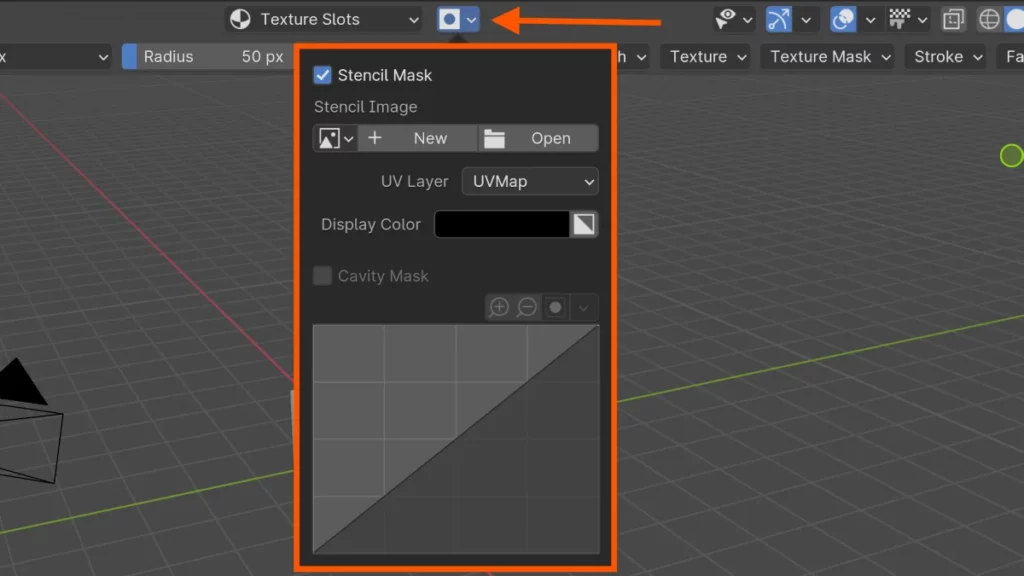
After sculpting, artists can extract detailed maps from their 3D models. These maps can be applied to the 2D artwork to give it depth and dimensionality. To do this, artists might navigate to the Texture menu and use tools such as baking to transfer the 3D information back into their 2D canvas. The result is a captivating illustration that blurs the lines between 2D and 3D art.
As artists become more adept at blending these disciplines, they unlock new creative potential. The techniques discussed here are just the beginning, inviting illustrators to explore further and experiment with their unique styles. The next section will delve into the intricacies of texturing and lighting, essential components that bring 2D and 3D integrations to life.
Integrating Your Workflow with 2D and 3D Techniques
The integration of 2D and 3D workflows has revolutionized the way illustrators create their art. By combining the strengths of both dimensions, artists can produce work with rich textures and depth that were previously hard to achieve. The workflow integration of 2D and 3D allows illustrators to visualize their concepts with greater clarity and bring them to life with stunning realism.
For seamless workflow integration of 2D and 3D, start by sketching your ideas in a 2D space. Use software that supports layering and easy transitioning to 3D environments. Then, import your 2D sketches into a 3D modeling program to begin sculpting the basic forms. This step helps to maintain the artistic direction and conceptual integrity of your illustration.
As you refine your 3D model, keep in mind the final 2D illustration. Use sculpting tools in your 3D software to add details that will enhance the 2D rendering. Note that to combine objects in your scene, you may need to use shortcuts like Ctrl + J. When satisfied with the 3D model, export it as a 2D image or render. In your 2D software, integrate this render by going to the Layers panel and using blending modes to merge it with your initial sketch. This technique ensures a cohesive piece that utilizes the best of both worlds.
Mastery of these techniques invites a new level of creativity and efficiency. The next section will delve deeper into the magical results when 2D and 3D are perfectly harmonized, showcasing the illustration’s full potential.
How to Create Magical Illustrations Using 3D Sculpting
Creating illustrations with 3D sculpting brings a new dimension to artwork, allowing for depth and realism that can be hard to achieve with 2D alone. 3D sculpting software, such as Blender or ZBrush, provides illustrators with tools to mold digital clay much like traditional sculpting. This process results in intricate models that can be lit, textured, and rendered to look lifelike or fantastical.
When starting with 3D sculpting for your illustrations, it’s crucial to understand the basic principles of modeling. Begin with a simple shape like a sphere or cube, then use sculpting brushes to add or subtract volume. Artists often use a tablet and stylus for intuitive control. Look to the Tools panel to find brushes that can pinch, smooth, flatten or inflate your digital sculpture.
As you become more adept at shaping your models, consider the composition of your illustration. Think about the scene you want to create and how your 3D model will be integrated. Use shortcuts like Shift + R to repeat the last action and speed up your workflow. Remember, to join two objects together use Ctrl + J. To add texture and color, explore the Materials tab and apply different properties to your model, giving it a unique appearance.
The magic of creating illustrations with 3D sculpting lies in the seamless blend of realism and imagination. With your 3D model sculpted and textured, it’s time to bring it into a 2D environment for final touches. This could mean importing the render into a program like Photoshop to add backgrounds or additional elements. The next section will explore how to fuse your 3D creations with 2D art for a compelling, magical illustration.
Smooth Transitioning Techniques from 2D to 3D Art
Transitioning from 2D to 3D in art can seem daunting, but with the right techniques, artists can make the shift smoothly. The key lies in integrating skills from both dimensions to create a composite workflow. Start by sketching your concept in 2D; this familiar ground helps you establish composition and mood before moving into the more complex 3D space.
Once the 2D sketch is ready, begin the transition by using a 3D sculpting program to block out basic shapes. Artists can maintain the soul of their 2D work by using their sketches as a reference image within the 3D software. This step ensures that the transition from 2D to 3D in art preserves the original vision and artistic intent.
To refine the 3D model, utilize digital sculpting tools, constantly rotating and adjusting the model for consistency with the 2D concept. Use the Smooth and Grab brushes found in the Tool Palette to manipulate your digital clay. For shortcut aficionados, remember to use Shift to smooth out lumps or inconsistencies in your 3D sculpture. Blend 2D & 3D techniques by projecting your 2D sketches onto the 3D model as textures, allowing you to paint directly onto the surface and ensure that the original art’s essence is captured in the full dimensionality.
BEGIN LEARNING AND DEVELOPING WITH OUR BLENDER VIDEO SCHOOL!!
Check out our course library if you are looking for a systematic and effective way to improve your skills as a 3D artist. Click Here To Learn Blender The Right Way!